A sharp or worn spot
A photo can show a chip, a flattened biting surface or a thin edge. How deep it goes and what caused it are separate questions. Tell the team about sensitivity, clenching or past injuries so they can interpret it properly.


Some people want to see every detail; others would rather hear a summary. An intraoral camera visit can work either way. Close-up photos of visible surfaces are there to help you understand a finding, at a pace and in a format that feels manageable.
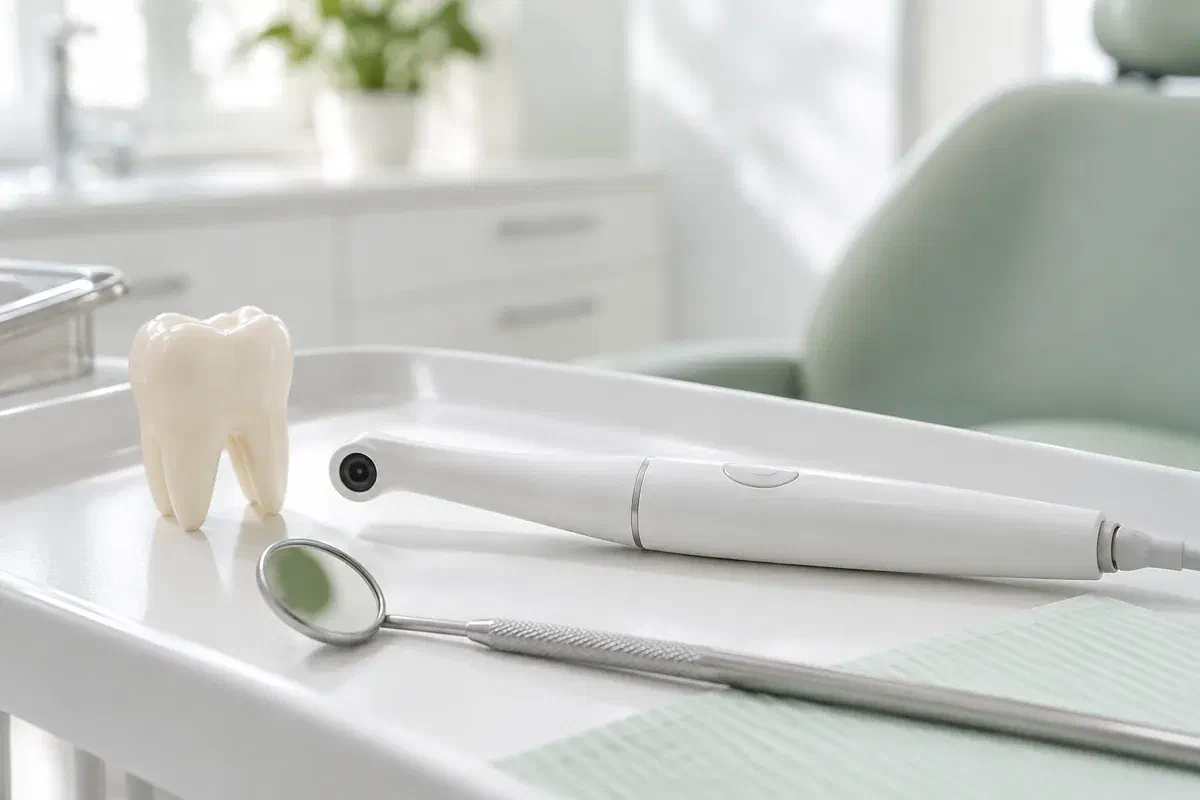
Feeling uneasy in a dental chair is common, and the idea of a camera in your mouth can add to it. In practice, an intraoral camera is about the size of a thick pen. It is held near the teeth or gums for a few moments to take enlarged photographs of surfaces that can be reached, and those images can help explain a finding you might otherwise struggle to picture.
A photo is a helper, not a verdict. Its appearance changes with light, angle, moisture and how much of the area is visible. Your dentist links it to what you have noticed, your history and the rest of the exam before telling you what it means or whether care is needed.
From Meadowvale, Churchill Meadows or elsewhere in Mississauga, you can call ahead to ask whether images would help with your concern and how the visit can be set up. During the exam, tell us if you would like to see the picture, hear a description instead or take a break. A close-up should make things clearer, never make you feel cornered.
Images help most when they answer something you genuinely want to know. Mention the area and ask how the picture connects to the full examination.
A photo can show a chip, a flattened biting surface or a thin edge. How deep it goes and what caused it are separate questions. Tell the team about sensitivity, clenching or past injuries so they can interpret it properly.
Seeing the edge of a restoration can help explain food trapping or a rough feel. A visible line or shadow is not a diagnosis on its own. Ask what else will be checked before replacement is discussed.
Some gumline surfaces are hidden from the bathroom mirror. A picture can show where plaque gathers, and a short demonstration can show you how to reach it. Both are needed for the advice to work.
Intraoral photos are different from X-rays and from 3D digital impressions. Each record answers a different question, so one cannot stand in for another.
Uncertainty can feel worse than a clear answer. When the dentist points to the feature on screen and explains it, many people find the finding less frightening than what they had imagined. You do not need to read every reflection; simply ask what part of the image matters.
Images can be kept in your record when appropriate. An older photo beside a newer one may help with a review, though shifts in angle or light change how a tooth looks. A comparison only has meaning together with the exam and your history.
Patient information: Carestream Dental — intraoral camera image capture and review
Ask the dentist to name the tooth and surface shown. Knowing where the concern sits helps you describe symptoms and care for the area. A magnified image can look odd at first, so ask about orientation and real size.
With the photo as a reference, ask what a suggested treatment would address and what supports it. Alternatives may exist. The image is one piece of the explanation, not a shortcut past a full talk about benefits and limits.
For an area being watched, ask what will be looked at next time. Photos can be useful alongside notes, symptoms and other records. The plan should name the changes that would justify calling sooner.
The camera fits within a regular clinical appointment. Tell us about tender spots, a strong gag reflex, jaw stiffness or anxiety, so the team can plan photos around your comfort.
The dentist talks through your concern and examines the area. Ask why a photo would help and settle on a hand signal for pausing. Some questions cannot be answered by looking, and the camera does not replace an assessment.
The slim camera is held near the tooth or gum surface for the view needed. The team may change the angle or dry the area. If the position triggers gagging or discomfort, signal and they will stop.
If you want to see the image, ask the dentist to point out the feature and to say what is observation and what is diagnosis. If you would rather not look, ask for a spoken explanation. Either way, a photo shows what is visible, not depth, activity or cause.
The result might be advice, monitoring, further tests or treatment options to consider. Confirm the reason and any follow-up timing. If images are stored or shared for care, you can ask about the record and the consent involved.
Photos do not normally require any recovery. The part that matters is the advice or plan from the full assessment.
Before leaving, confirm what was found, what it likely means and what remains uncertain. Ask about any words that were unfamiliar. Enlarged images can look alarming, so the explanation is what puts them in perspective.
If the visit showed a cleaning gap, a damaged tooth or a gum concern, use the guidance meant for that problem. Ask for a demonstration if helpful. A photograph cannot repair a tooth or replace treatment that was recommended.
If the area is being monitored, note when it will be reviewed and which symptoms mean calling earlier. An image on file does not replace future exams. New pain or a tooth that behaves differently still needs attention, whatever an earlier photo showed.
Reading dental images is not your job. The dentist should connect the photo to the exam, be open about uncertainty and answer questions about any next step.
Call our Bronte Street practice with the concern you want examined, and mention if dental visits make you anxious. Ask whether photos would help and how the appointment can be arranged. We will explain the findings in the way that suits you, including what the images cannot show.
Camera photos support a clinical assessment. Pictures used here are illustrations only and are not the clinic’s own equipment.
