
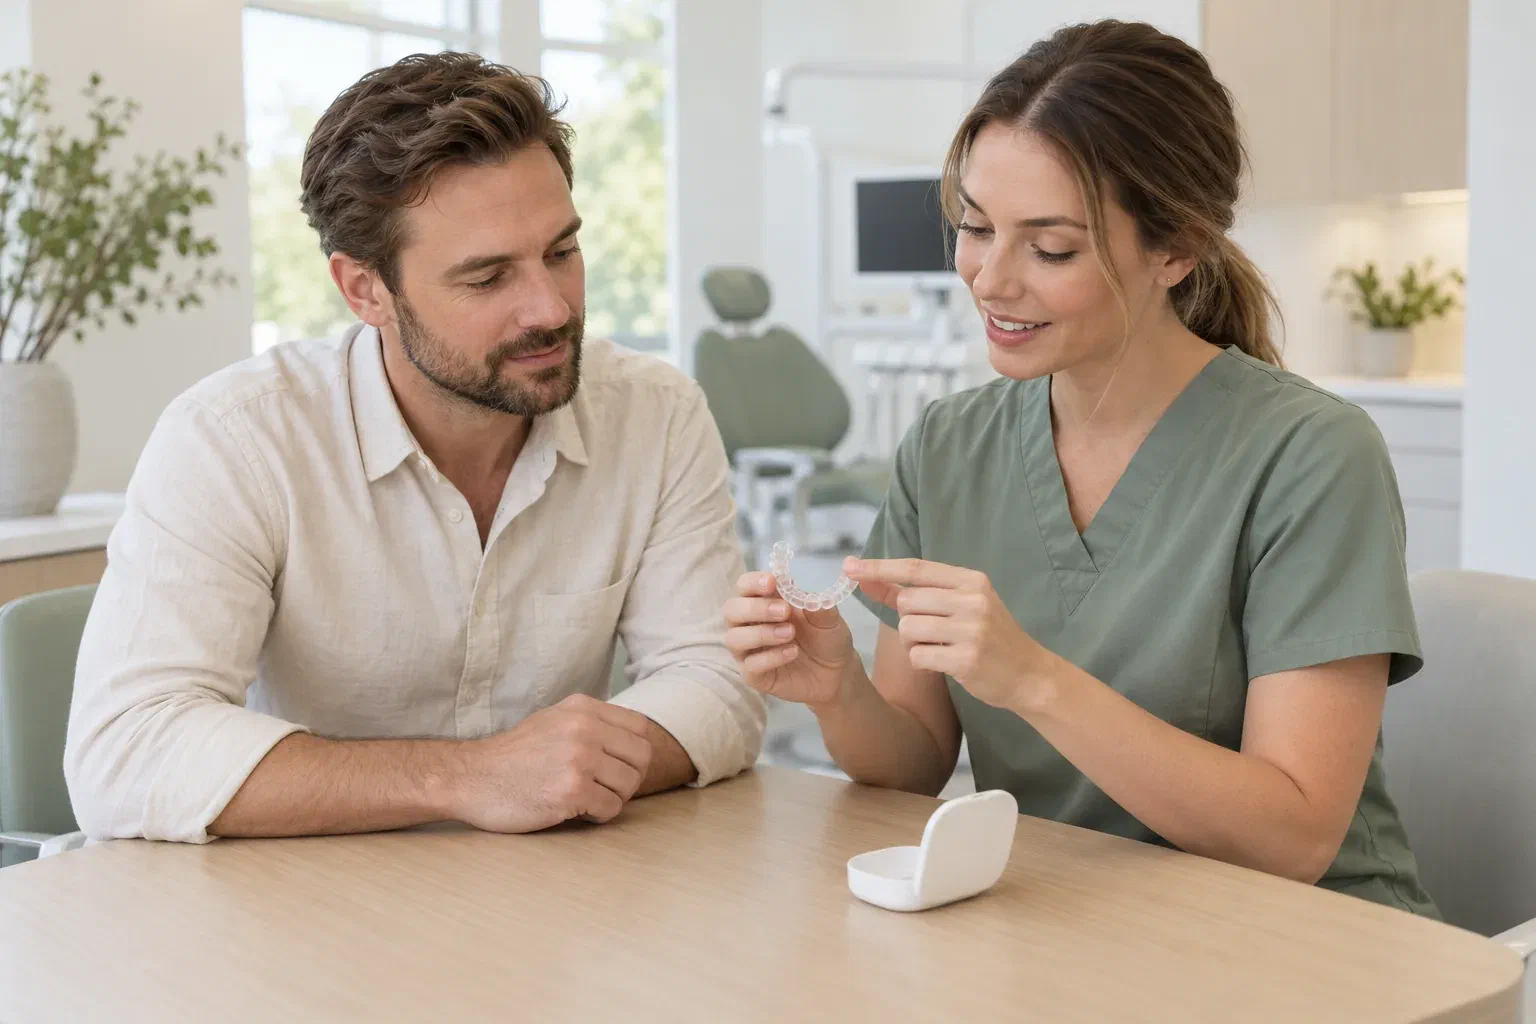
Illustrative explanation of how to handle a custom oral sleep appliance
Specialized Care

Sleep Appliance Fitting in Georgetown

Many custom sleep appliances have a screw, strap or connector that changes the jaw position, and it is tempting to experiment. A fitting for people from Georgetown explains exactly what that mechanism is for, who moves it and when.

Georgetown · understanding the mechanism

An adjuster is part of a plan, not an invitation to tinker.

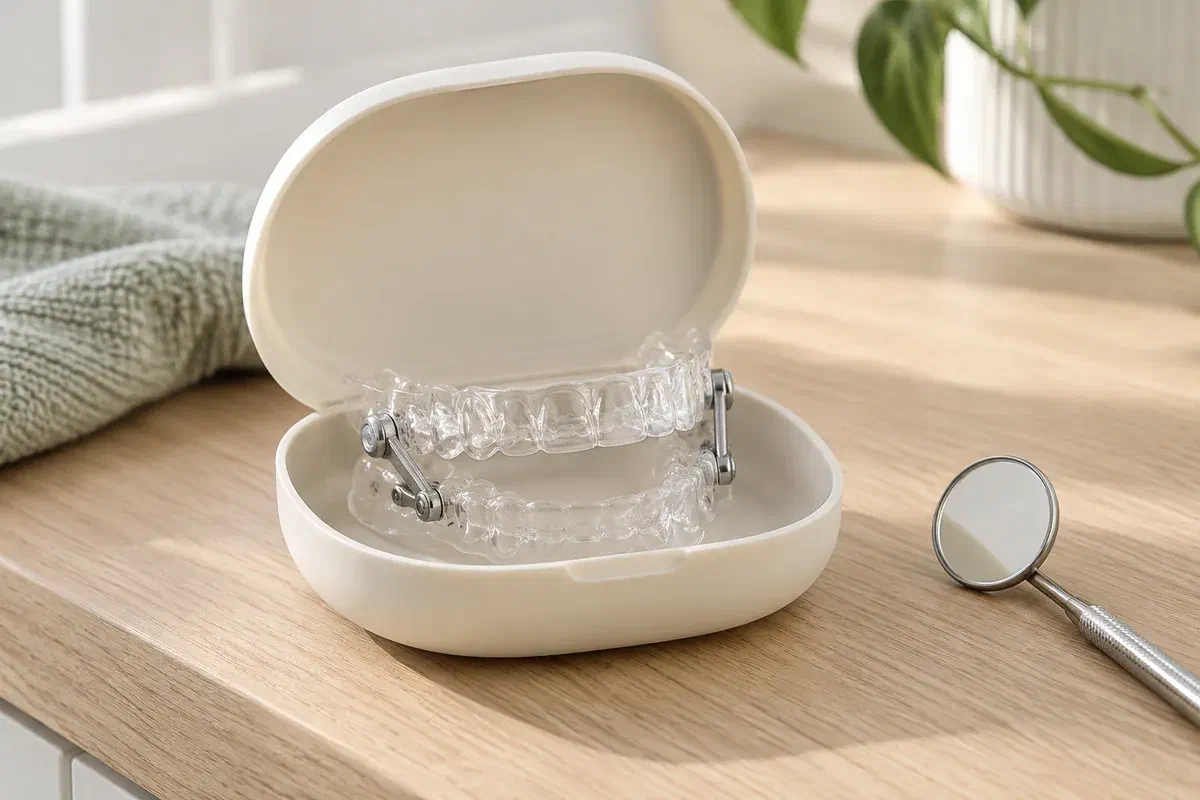
Open the case of a custom oral sleep appliance and you may find a tiny key, a set of connectors or a dial with markings. Curiosity is natural. The fitting, which follows your assessment and treatment planning, is where those parts get explained, alongside a check of how the device sits and practice in putting it in and taking it out.

No single rule covers every appliance. Some designs are changed only by the clinician; others come with specific, limited home steps; cleaning and handling differ too. Instructions found online, or a friend's routine with another model, could steer you wrong. Ask the clinician to show you each part on your own device, then handle it yourself while they watch.

When you get in touch, tell us whether the device has been prescribed or made, and which provider is directing your sleep care. Our team can discuss records and how coordination will work. A setting that feels comfortable is not evidence that it is the right one, and a good fit does not by itself establish that treatment is working.

Ask how your appliance's settings will be managed
Illustrative connected sleep appliance in an open protective case
Clear this up at the fitting

Know what each part does before you touch it at home.

Small parts invite questions. Ask them while the clinician has the appliance in hand, because guessing at a mechanism late at night can undo a carefully planned starting point.

Which parts come apart, and which stay put

Some components are meant to be separated for cleaning or insertion; others should never be loosened. Ask the clinician to point out which is which, then practise seating and removal with the parts exactly as they should be. If you cannot manage the steps comfortably, say so rather than forcing anything.

Pressure that may change with the setting

Describe how the appliance feels during the check. Being aware of the device is expected; pain, irritation of the gums or a tray that will not seat is not something to settle by turning the adjuster. The clinician should decide whether an adjustment, more assessment or a different plan is needed.

Permission to adjust, in writing

Ask which setting is the starting point and whether you are authorized to change anything. If so, find out how much, how often and what would mean you should stop and phone. If not, leave the mechanism alone. The fitting position may change later, under professional direction.

Mention dental work or tooth changes since your records were taken. A new filling, a crown, an extraction or a fresh symptom can affect the fit, and should be checked before you begin, regardless of what setting is planned.

What you gain from a full explanation

A starting point you understand and a plan for every change after it.

During the visit, the clinician compares the appliance with the design that was planned and with the way your teeth and gums are now. You can ask what they are assessing and how a problem would be handled. A device made from your records is not automatically ready; its clinical fit, and how well you understand its parts, both matter.

Settings often change over time as part of a staged approach, with comfort and the response to treatment reviewed along the way. Ask which changes the dental team makes, which, if any, you make, and how the medical provider will judge effectiveness. That way each adjustment has a reason and a record.

Patient information: AADSM — appliance delivery, patient instruction, and continuing management

A guided tour of your own device

Handle each component as the clinician explains it, and practise the full routine more than once. Ask for a repeat demonstration whenever needed. If someone else might help at home, make sure they learn which parts to leave alone rather than assuming any approach is safe.

Written settings and care notes

Ask for instructions that record your starting setting, how to wear and clean the appliance, how to store it and any adjustment you are allowed to make. Keep manufacturer and provider details with them. Written notes help you tell a cleaning step from a setting change.

A recorded baseline for each future adjustment

Make sure your fit, bite and jaw findings are noted alongside the starting setting, and confirm the date of your first review. Ask how to reach the provider sooner if something goes wrong. You should leave with support, not a plan to put up with problems until a routine checkup.

From the case to your mouth

How does a fitting appointment run?

Bring your sleep-care information and any paperwork that came with the appliance. Mention anything that has changed since assessment, and ask for time to go over every part of the device.

  1. Confirm the plan and review your health

    The clinician checks the intended appliance and treatment pathway, then asks about dental work, symptoms or medical changes since your assessment. Ask whether anything affects readiness. If the device was supplied through another office, its prescription and settings may need to be confirmed first.

  2. Check the fit at the starting setting

    Seating, retention and contact with the gums are assessed against your teeth and restorations. Describe what you feel rather than deciding what is normal. The clinician decides whether the appliance is suitable to use or needs attention before you start.

  3. Explain each part and practise handling

    You learn how this design is inserted, removed, cleaned and stored, and which components are yours to handle. The starting setting is confirmed, together with any change you are authorized to make. Ask about anything you do not understand, especially the adjustment mechanism.

  4. Plan reviews and medical coordination

    Agree on when the dental review takes place and how the sleep provider will assess response. Ask about significant discomfort, a bite that feels changed or being unable to wear the device. If use has to wait or stop, confirm what sleep care continues in the interim.

The first weeks of wear

Leave the dial where your clinician set it.

Follow the starting plan for your appliance. Do not copy another person's adjustment schedule or cleaning method, even if their device has a similar mechanism.

Wear it at the prescribed setting

Seat and remove the appliance as you practised, and keep to the starting routine. If a step proves unmanageable or wear is uncomfortable, call the provider. Do not advance the setting early, force the device or add anything homemade to keep it in place.

Clean it without disturbing the mechanism

Ask which cleaner and water temperature suit its materials and whether the adjuster needs any special care. Hot water and products nobody approved can harm the device. Between nights, the case is its home, where pets and accidental loss cannot reach it, and it travels with you to reviews.

Log any authorized changes and problems

If you have been told to make home adjustments, record each one as instructed. Also note trouble with wear, fit, jaw comfort or how your teeth come together after removal. Explain what happened rather than changing the plan alone, so the provider can respond and coordinate with the medical team.

Where things go from here

Each outcome has a reason you should be told.

If the clinician recommends a particular path, ask what led to it and how it affects your schedule. The appliance belongs at home once it has been checked and you understand it, not simply because a delivery visit was booked.

When fit and instructions have been confirmed

Start at the prescribed setting

If the device is ready, the clinician explains the starting routine and any later adjustment steps. Ask how to report problems between visits. Comfort, oral effects and the response to treatment are all reviewed later, so this is the first stage of an ongoing plan.

When a fit or oral-health concern remains

Adjust the fit or treat the teeth first

Sometimes the trays need easing over a sore spot, or new dental work means the fit has to be revisited. Find out if that can be handled on the day or if the lab or a second appointment is involved. Waiting for a known reason beats taking home an appliance that is not safe to wear.

When this appliance does not meet current needs

Consider another design or pathway

Findings may point to a different design, a specialist opinion or a conversation with the medical sleep provider. Ask what changed the plan and what happens next. The sleep condition should still have an agreed approach while this is worked out.

Georgetown questions about settings

Screws, dials and who turns them.

Your device's mechanism determines the details. Bring questions about the adjuster, cleaning and follow-up so the clinician can answer with the appliance in hand.

(905) 876-4488
Why does my appliance have an adjuster if I am told not to use it?
The mechanism allows the jaw position to be changed in planned steps. In many cases those changes are made or directed by the clinician at review visits. Some plans include specific home steps. Follow only what your provider has authorized.
I was given permission to make home adjustments. How should I keep track?
Record each change exactly as you were instructed, including the date and the amount. Bring that record to your review. If you lose track or are unsure of the current setting, stop adjusting and contact the provider.
What should I do if I turned the adjuster by accident?
Do not guess your way back. Stop and contact the provider for advice before wearing the device again, and follow your interim sleep-care plan if needed. Mention what happened so the setting can be checked.
Will I feel a difference the morning after an adjustment?
Some people notice their jaw or teeth more for a while after a change. Jot down what you feel for the next appointment, and phone earlier if the discomfort is marked or your bite feels clearly different.
How was the starting setting for my appliance chosen?
The treating clinician selects the starting position as part of your plan. Ask them to explain the reasoning and how later changes will be decided. The starting point is not necessarily the position you will end up using.
Which parts of the appliance can I clean separately?
Ask at the fitting and check your written instructions. Some designs come apart for cleaning while others should be left assembled. Using the wrong method or product can damage the materials or the mechanism.
Book your Georgetown fitting

Get the settings explained before your first night.

Call or message Milton Dental Clinic about fitting your sleep appliance and the records it requires. Mention who prescribed the device and set its plan, whether it is finished, and any dental work you have had since the assessment.

Settings and instructions depend on your device and coordinated care plan.

Visit Milton Dental Clinic
Unit 1, 342 Bronte St. S, Milton, ON L9T 5B7
Get directions Clinic hours
Monday–Thursday
11am–7pm
Friday–Sunday
By appointment only

Areas we serve

  • Milton
  • Oakville
  • Mississauga
  • Georgetown
  • Halton Hills
  • Acton
  • Campbellville
  • Brampton
  • Burlington
  • Puslinch
  • Rockwood
  • Erin
  • Caledon
  • Etobicoke
  • Old Milton
  • Bronte Meadows
  • Timberlea
  • Dorset Park
  • Dempsey
  • Clarke
  • Beaty
  • Coates
  • Harrison
  • Scott
  • Willmott
  • Ford
  • Bowes
  • Cobden
  • Walker
  • Mountain View
  • Milton Heights
  • Hawthorne Village
  • Valley View
  • Fallingbrook
  • Nassagaweya
  • Trafalgar
  • Esquesing
  • Nelson
  • Brookville
  • Moffat
  • Glen Williams
  • Norval
  • Limehouse
  • Stewarttown
  • Ashgrove
  • Hornby
  • Silver Creek
  • Speyside
  • Scotch Block
  • North Oakville
  • River Oaks
  • Glen Abbey
  • West Oak Trails
  • Palermo
  • Bronte Creek
  • College Park
  • Joshua Creek
  • Uptown Core
  • Preserve
  • Iroquois Ridge
  • Lisgar
  • Meadowvale
  • Meadowvale Village
  • Churchill Meadows
  • Erin Mills
  • Central Erin Mills
  • Streetsville
  • East Credit
  • Creditview
  • Heartland
  • Sheridan
  • Mount Pleasant
  • Credit Valley
  • Huttonville
  • Churchville
  • Springbrook
  • Northwest Brampton
  • Bram West
  • Fletcher's Meadow
  • Fletcher's Creek South
  • Alton Village
  • Orchard
  • Millcroft
  • Headon Forest
  • Tansley
  • Brant Hills
  • Tyandaga
  • Kilbride
  • Lowville
  • Aberfoyle
  • Morriston
  • Arkell
  • Hillsburgh
  • Freelton
  • Carlisle
  • Waterdown
  • Flamborough
  • Mountsberg

How can we help?

Milton Dental Clinic

Have a question about your smile? Choose the option that works best for you.

For urgent dental concerns, please call.
Messages are reviewed during clinic hours.